.avif)

Guaranteed to teach you things you never knew.
January 2023
How to Digitize Old Photos With Your Phone
Transforming scattered family photos into digital keepsakes not only preserves cherished memories but also reconnects you with your past, and you can easily start this journey using three apps to scan and digitize photos with your phone.
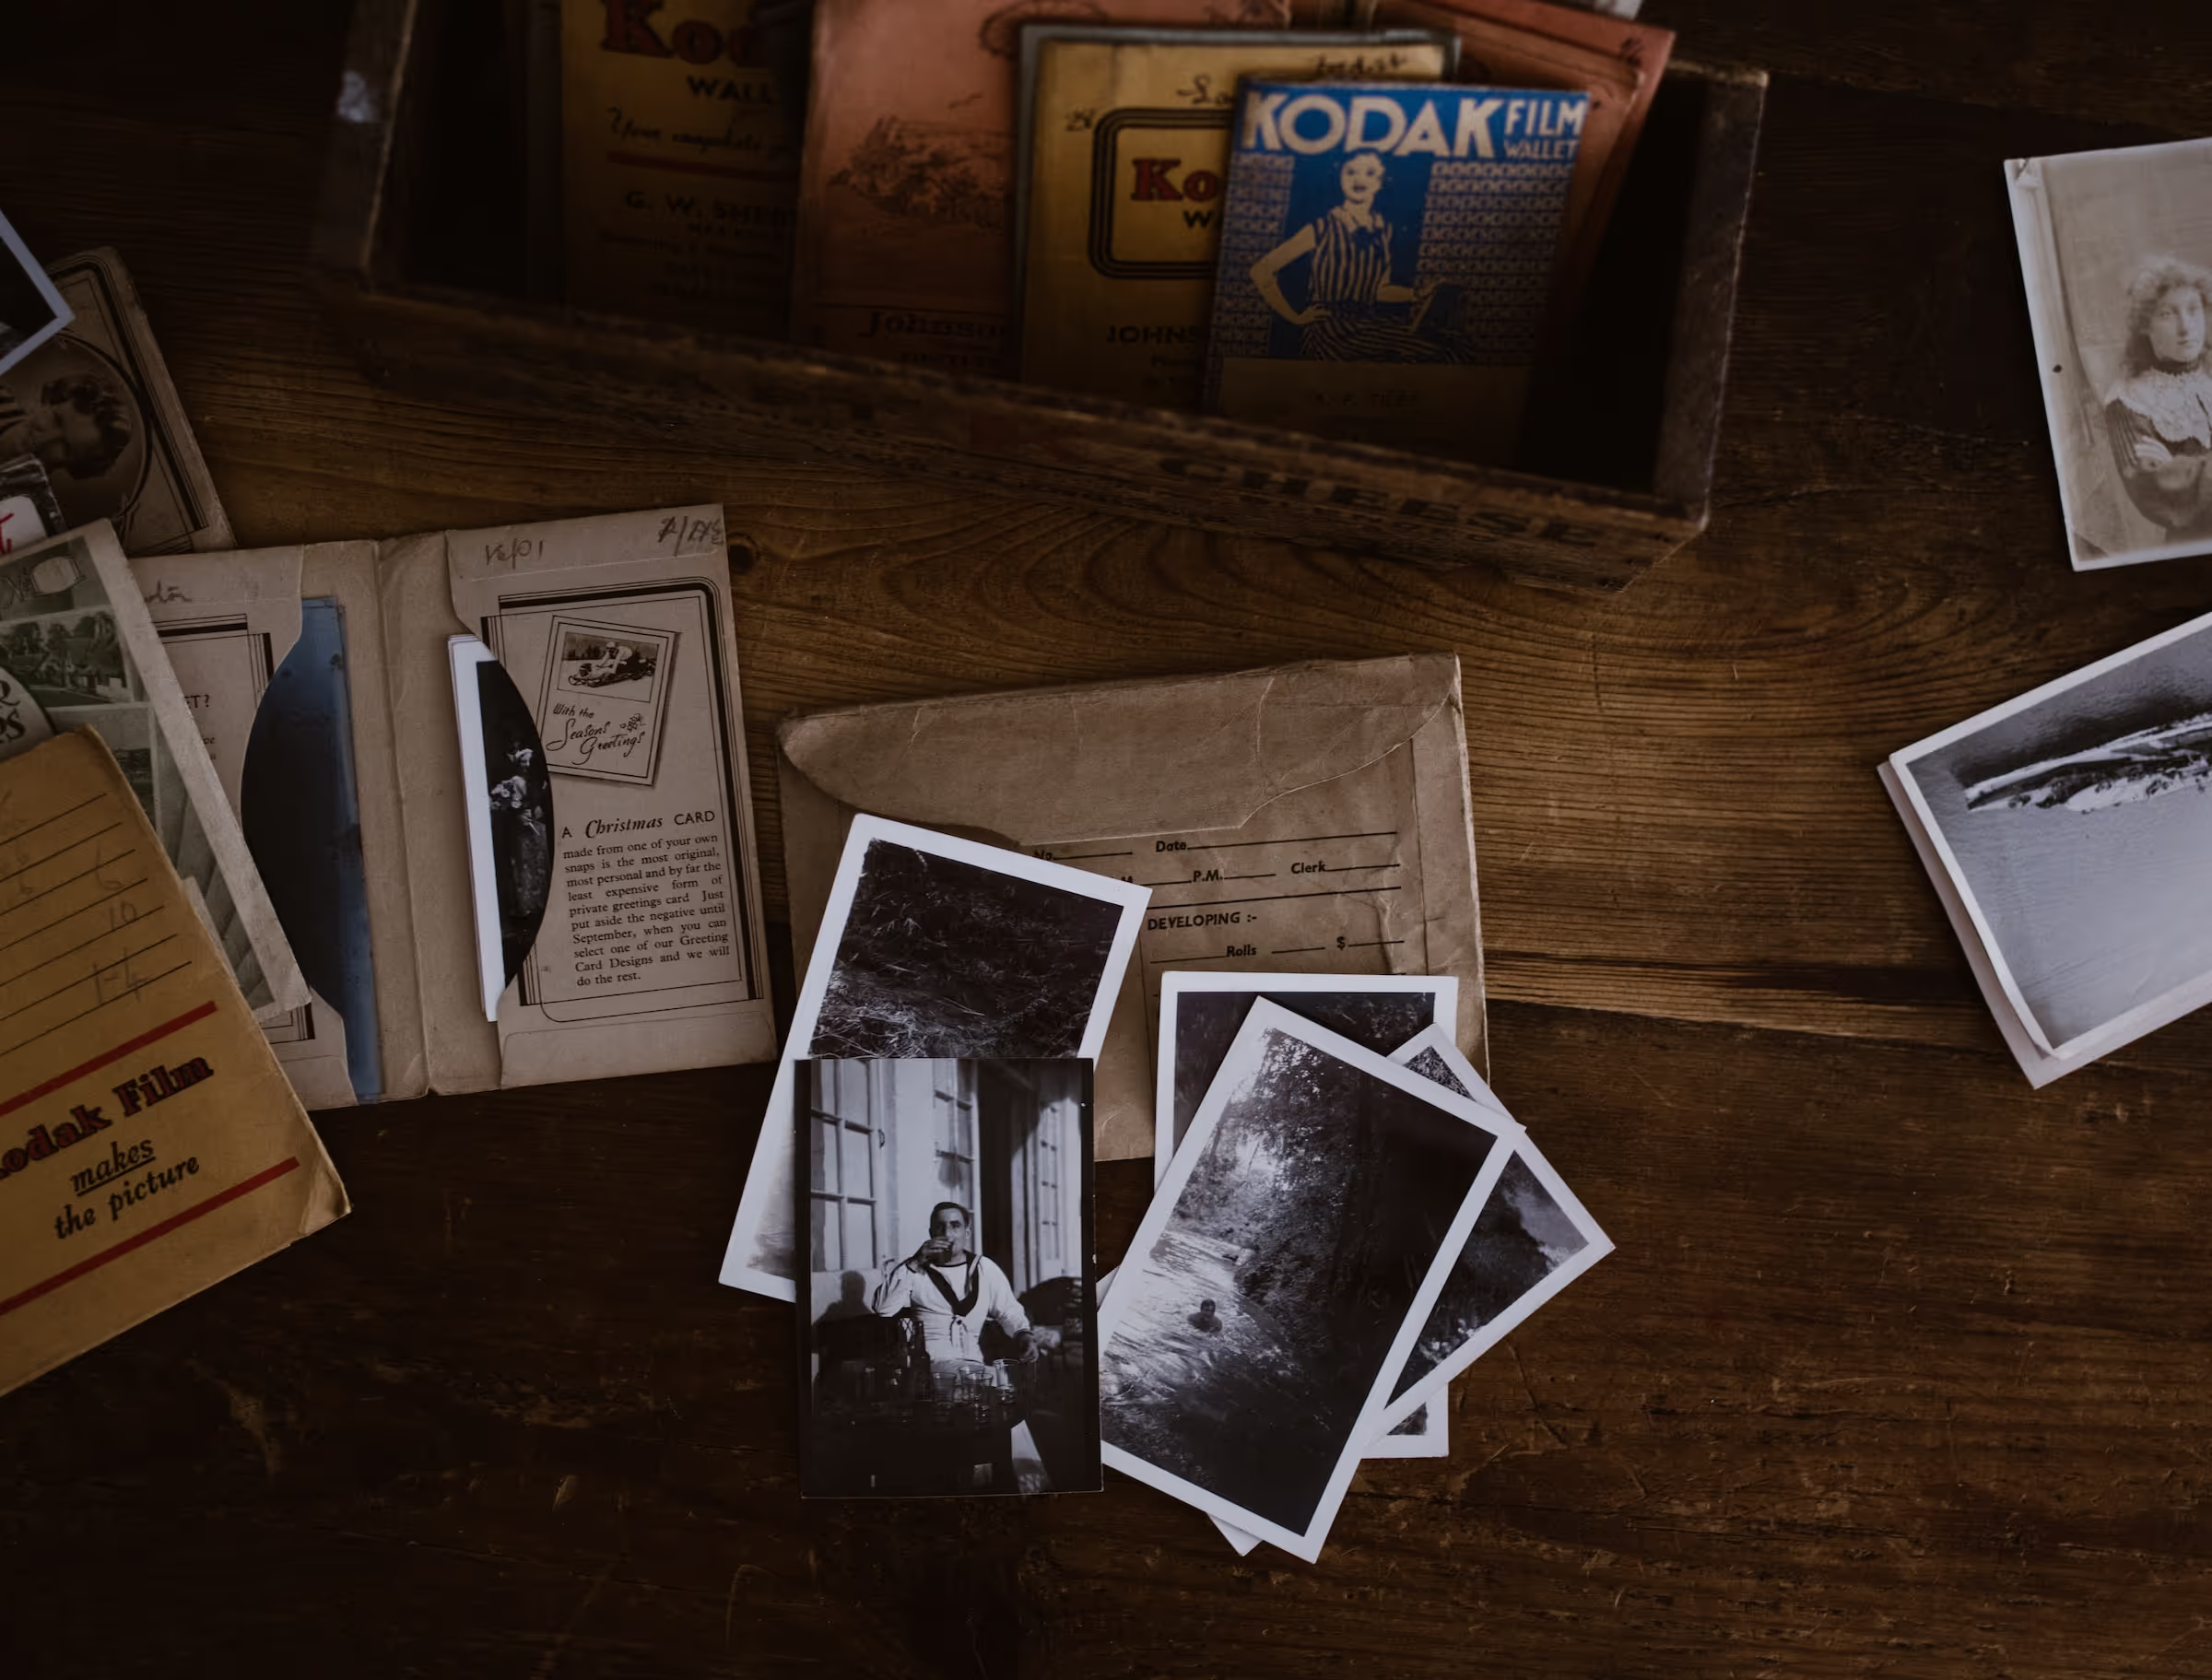
Many people's old family photos are scattered throughout various places. Some may be stored in shoeboxes in a nearby closet, while others may be in dusty albums or located in different zip codes. For example, baby photos may be split between the home where the person grew up and the few that are kept on their nightstand. Teenage photos may be found in a half-finished scrapbook. Additionally, there may be a photo from the grandparents' wedding day that every sibling thinks should be theirs.
Digitizing old photos can seem like a daunting task, but with a little organization and the right tools, it's easier than you might think. Whether you're looking to preserve family memories or simply declutter your physical space, digitizing your old photos is a great way to do it. Here are the steps you can take to digitize your old photos with your phone.
You can also add stories to these photos and turn them into a hardcover book of stories with the Remento book today.
Step 1: Pick your photos
Locating old photos can be a daunting task. If you already have photo albums organized, you can skip this step. Otherwise, start by alerting your friends and family that you are seeking their assistance in finding those old photographs. Make sure to give them enough time to search, but not so much time that the task becomes daunting. A deadline can be a great motivator!
It's possible that the people in your life have varying levels of technological expertise, so let your aunt know she can physically mail you some of her favorite photos and you will return them safely. For your sister and other family members who are more tech-savvy, try using texts, emails, or a shared folder in a cloud storage app like Dropbox or Apple Photo Shared Albums.
As you review your photos, select those that have meaningful stories or elicit emotion. It may be helpful to ask a family member to assist with identifying key dates and the stories behind the photos. Through this process, you may gain new insights about your family's history.
Step 2: Prepare the photo
Before you open your photo scanning software and begin scanning, make sure the photo is clean and dry. If the photo is particularly dirty or damaged, you may need to gently wipe it with a soft, dry cloth or use a soft brush to remove any dust or debris.
Step 3: Get the right app
There are a number of photo scanning apps available for both iOS and Android, such as Google PhotoScan, Shoebox, and Photomyne. Some apps are free, while others charge a fee or offer in-app purchases. Experiment with a few to find the one that works best for you. Here are a few popular options:
- Photomyne — Scan dozens of photos into digital albums in minutes
- Google Photo Scan — Google’s PhotoScan is a free app for iOS and Android that scans your photos multiple times, then stitches all the images together to remove glare and improve the quality of the final image. The app works on matte, gloss prints, and photos inside or outside albums.
- iPhone Native Notes App — Simply start a new note, click the camera icon at the bottom of the screen, and tap "scan documents."
Step 4: Store your photos securely
Finally, make sure to store your digital photos securely on an external hard drive or cloud storage system like Apple Photos or Google Photos so that they are protected from any potential loss or damage due to computer failure or other unforeseen circumstances. Doing this will also make it easy for you to share these photos with family and friends!
Digitizing old photos with your phone can be an easy way for parents to preserve their memories without having to buy expensive scanners or printing out new copies of their photos every time they want to share them with someone else. The process may seem intimidating at first but once you get started, it becomes much easier and more enjoyable as each memory comes back alive again! With these tips in mind, anyone can easily digitize their old photos with just their phones!
Bonus Step: Narrate Special Photos with Remento
Use the Remento app to add voice over and narration, telling the stories and memories behind photos. Record yourself or send a request to anyone.
Next up: 11 Creative Ways to Preserve Family Memories – And Pass Them Down
Their stories, forever at your fingertips
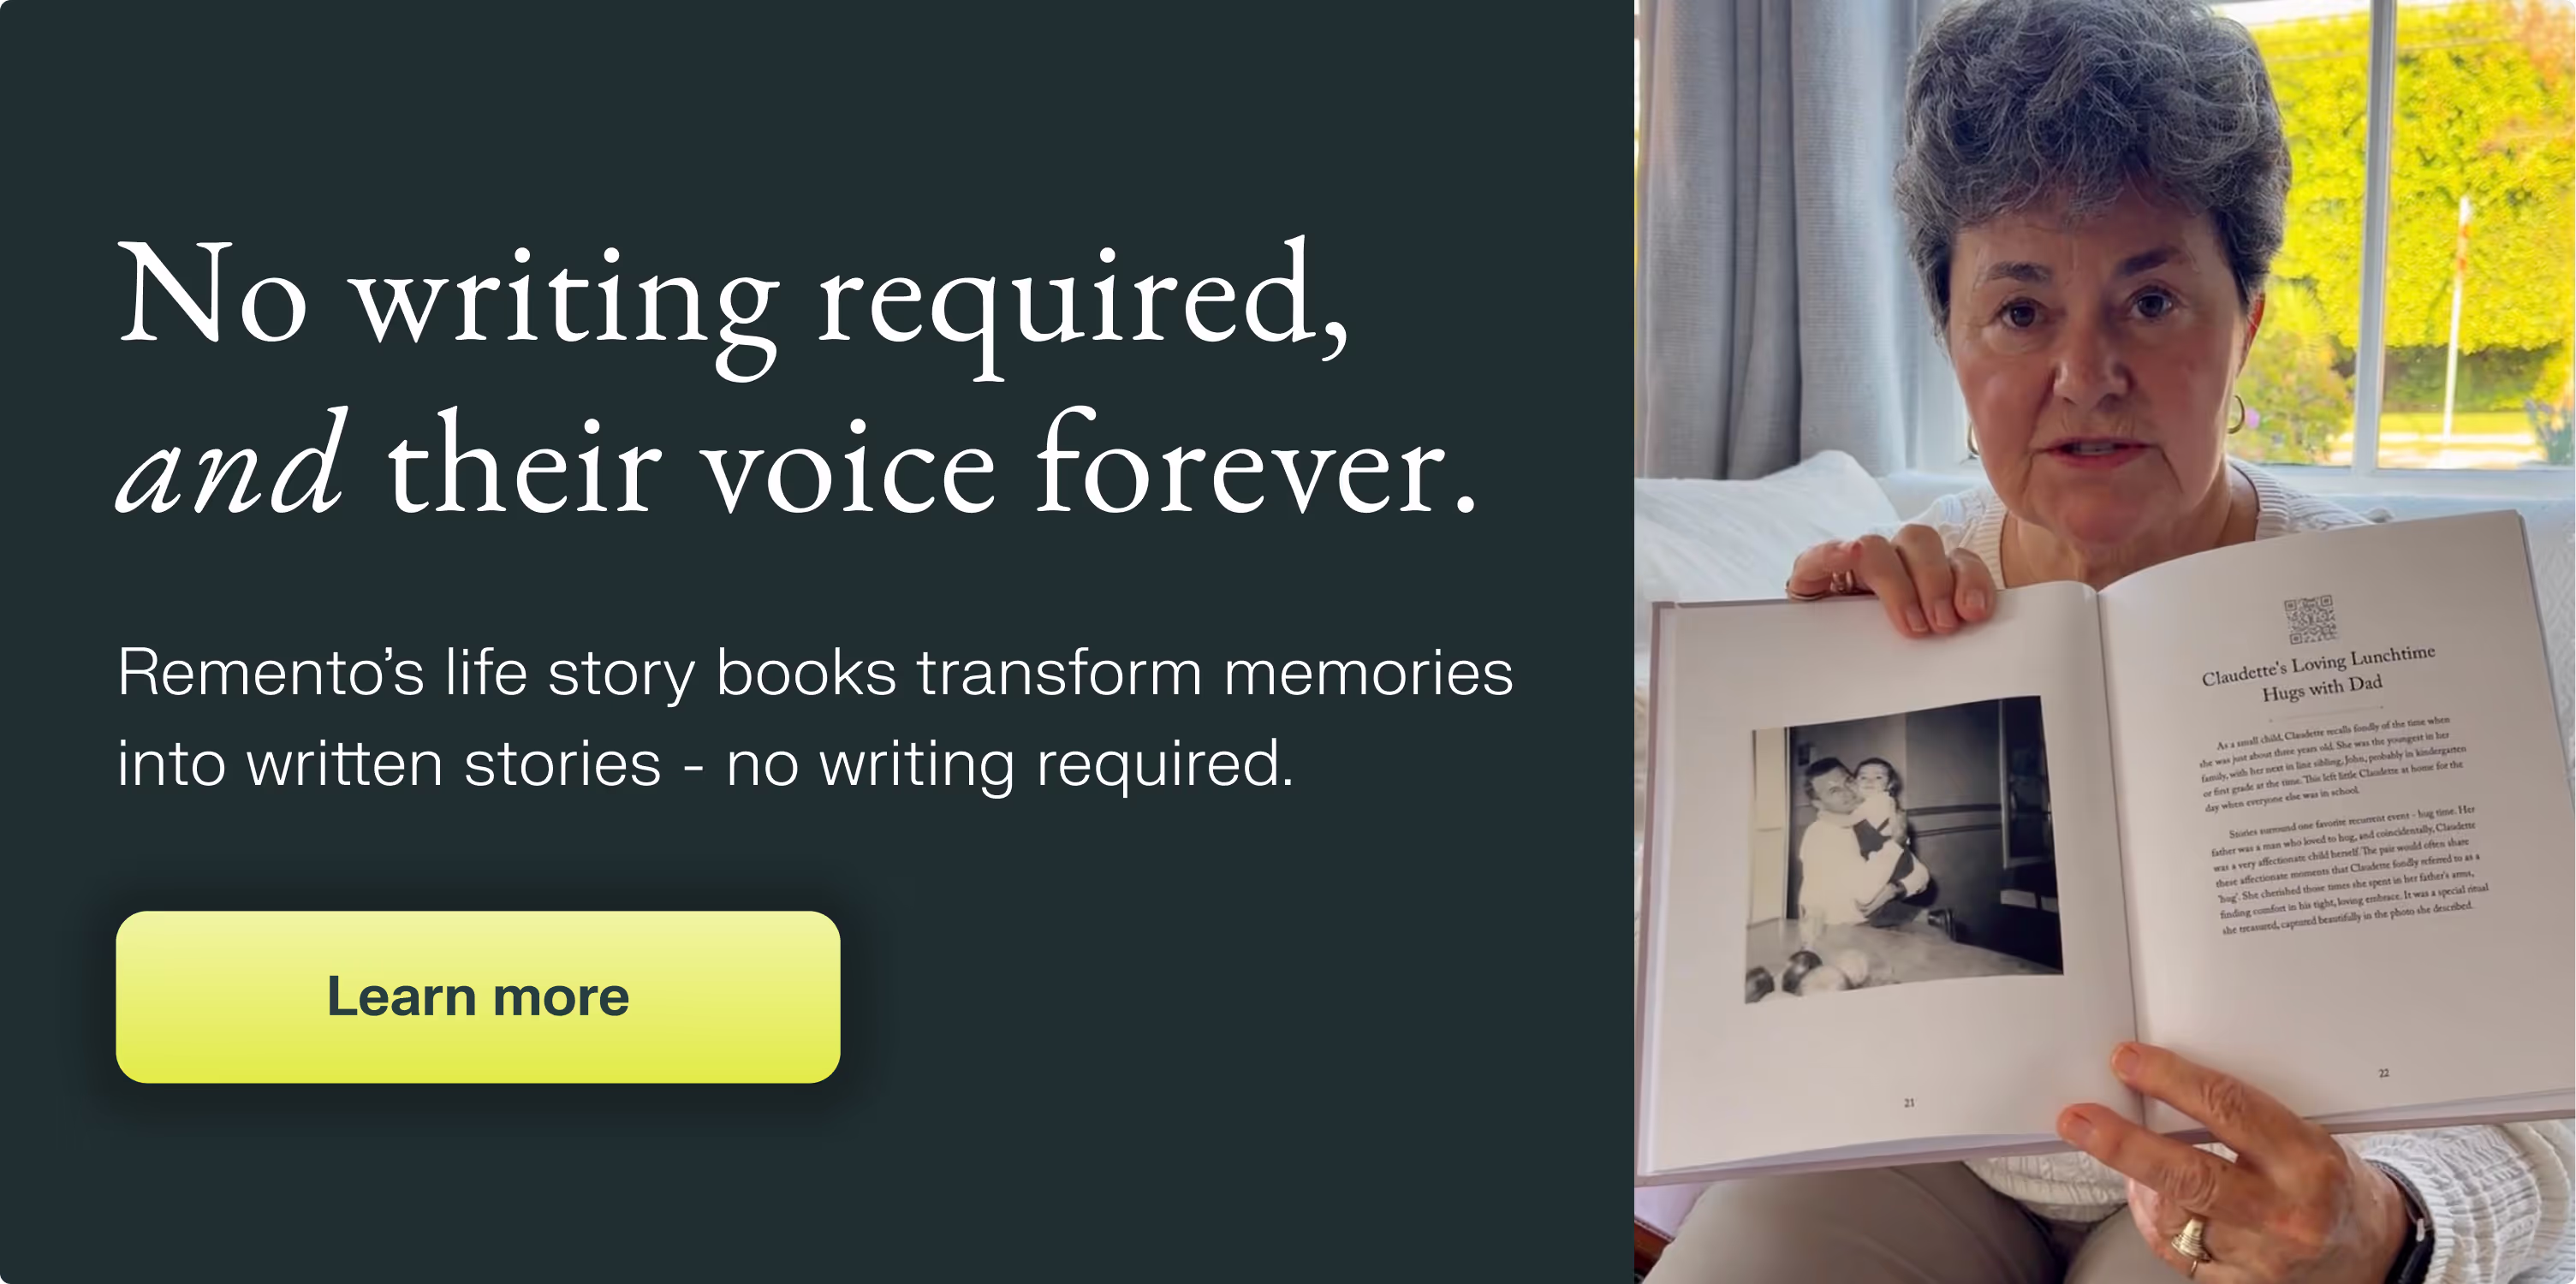
Remento’s life story books turn a parent or grandparent’s memories of the past into a keepsake book for the future - no writing required.
Capture priceless family memories today
Join the thousands of families using Remento to preserve family history, all without writing a word.