.avif)

Guaranteed to teach you things you never knew.
February 2023
How to Save Your Favorite Voicemail Messages
Want to save your voice mail message son iPhone, Android, or another device? Step by step instructions to make sure you never lose that memorable message.
Voicemails often hold a special place in our hearts. They capture the voices of loved ones who have passed away, the excitement of a new job offer, or the joy of a surprise message from a friend. But as technology changes, it becomes increasingly difficult to save and preserve these precious recordings. In this blog post, we will explore the different ways to save and preserve voicemails, so that you can keep these memories alive for years to come.
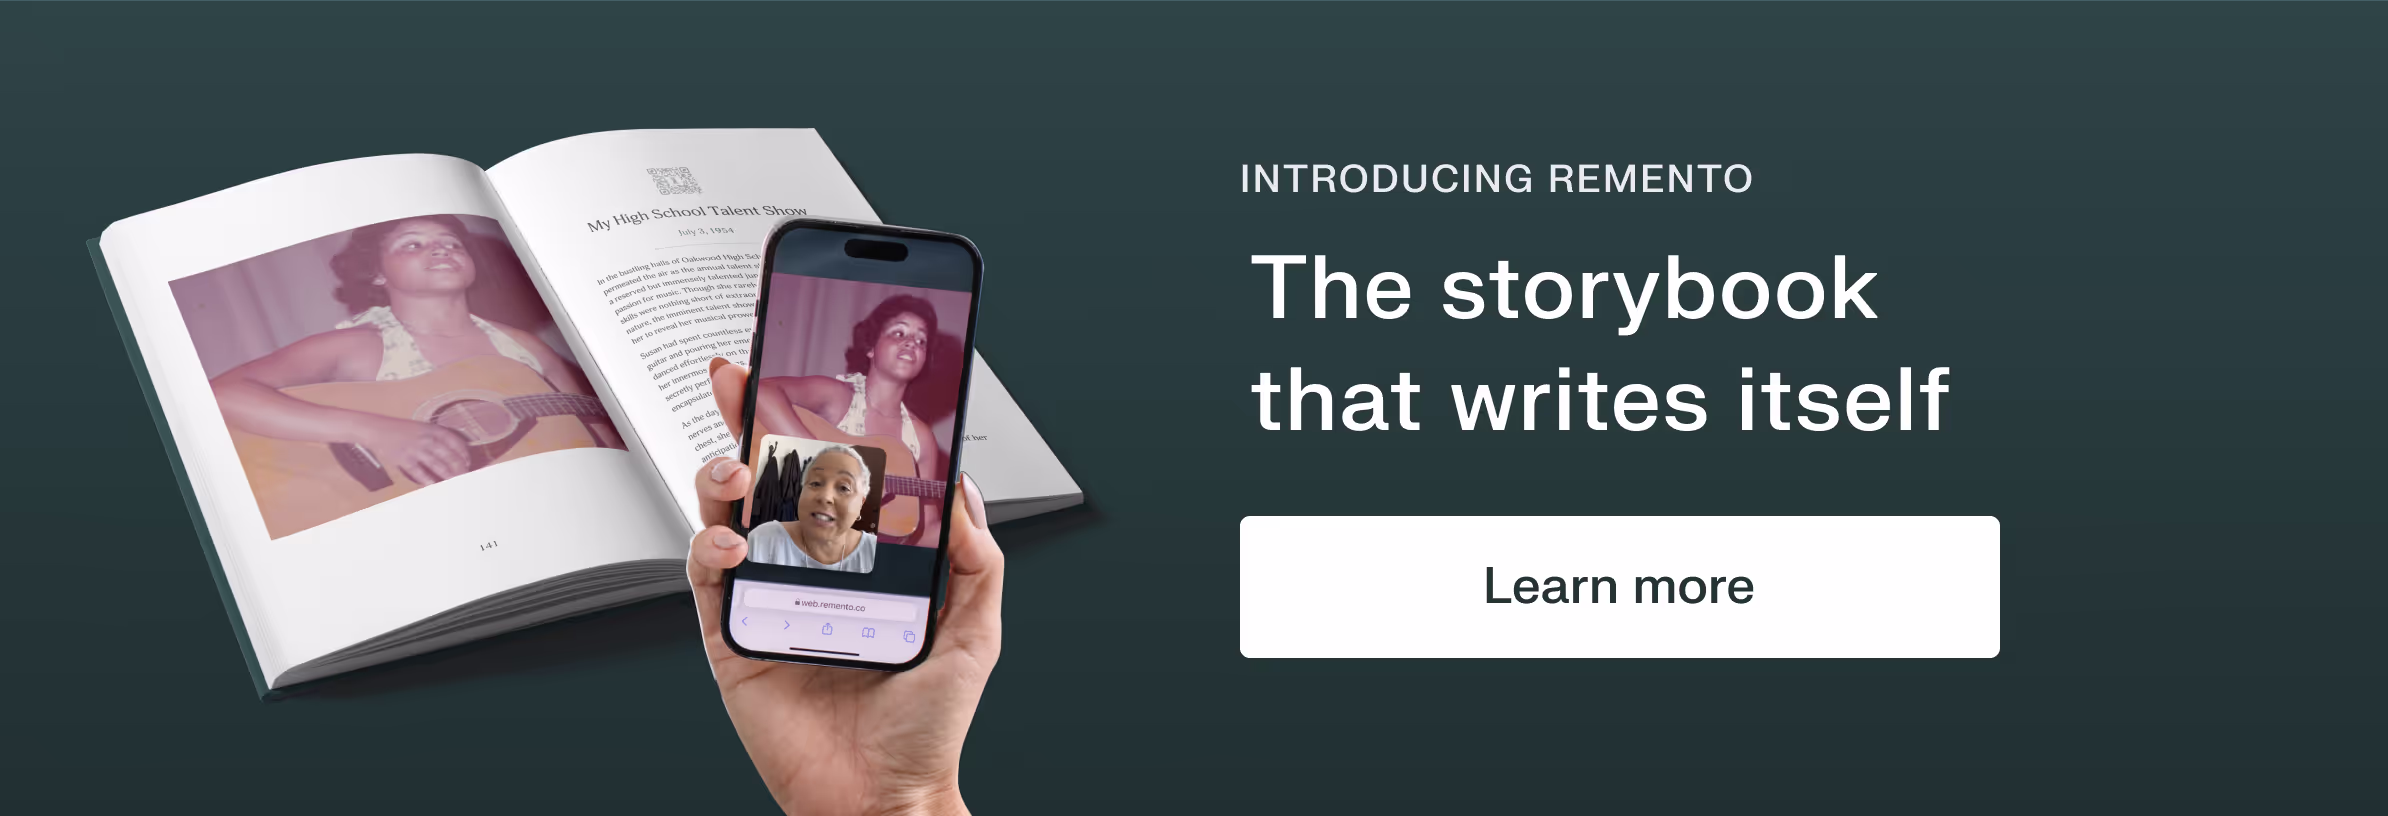
You can keep these recordings with our Remento book where we turn them into a hardcover book of stories. The book comes with QR codes for you to access original recordings anytime.
How to Save Voicemail Messages on an iPhone
1. Open the Phone app and tap voice mail.
2. Find the voice mail you want to save and click it.
3. Tap the square share icon in the top-right corner.
4. From here, you save several potential ways to save the file:
- Notes allows you to save the file as a new note or add to an existing one
- Voice memo will save an audio file to your phone that can be edited in the Voice Memo app and automatically backed up to iTunes
- Message and Mail will send the file as an MP3 over SMS or email
How to Save Voicemail Messages on an Android
1. Open the Voicemail app
2. Tap (or in some cases, tap and hold) the message you want to save. A list of options will appear
3. Click Save, Save to Phone, Archive, or similar option(s)
4. Select a storage location
5. Save the file
6. Backup the saved voicemail(s) to your cloud storage service of choice and download a copy to physical storage, such as an HDD, SD card, or USB flash memory, for extra safe keeping
How to Save Voicemail Messages
Preserving voicemails can be a challenge on basic devices such as flip phones, land lines, or rugged devices commonly used on job sites. These devices often lack the capability to easily share audio files. Similarly, smartphones without visual voicemail features can also present a challenge. However, saving these precious recordings is not impossible.
One easy method is to turn on the speakerphone, play the voicemail, and record it on another device. Many smartphones or tablets have built-in voice memo or recorder apps that can be utilized for this purpose. For laptops, software such as Audacity for Windows or Mac's QuickTime Player can be used to record the audio.
For those seeking to capture voicemails in the best quality possible, additional equipment may be necessary. A cable to connect the old phone and the computer is the most important requirement. Depending on the age of the phone, a cable with a smaller 2.5mm end to fit into the tiny headset jacks used by classic flip phones may be necessary. The other end should look like a standard headphone connector, which can be plugged into the jack on the computer with the small microphone icon or pink trim.
Once a recording device is secured, the voicemail can be recorded by pressing the record button and playing the voicemail through the phone's speaker. To easily locate the message later, it is recommended to leave a few seconds of silence before and after the message.
The recorded file can then be transferred to a computer and saved in an audio format such as MP3 or WAV. The file can also be converted to other audio formats if desired. To ensure safekeeping, the audio file can be stored in a cloud storage service such as Dropbox or Google Drive.
Overall, saving voicemails is an effective way to preserve special messages from loved ones. With a few simple steps, voicemails can be saved and cherished for years to come. It is also recommended to save the file in multiple locations such as the computer, an external drive and in cloud storage, to ensure the preservation of these precious memories.
Next up: 11 Creative Ways to Preserve Family Memories – And Pass Them Down

Their stories, forever at your fingertips
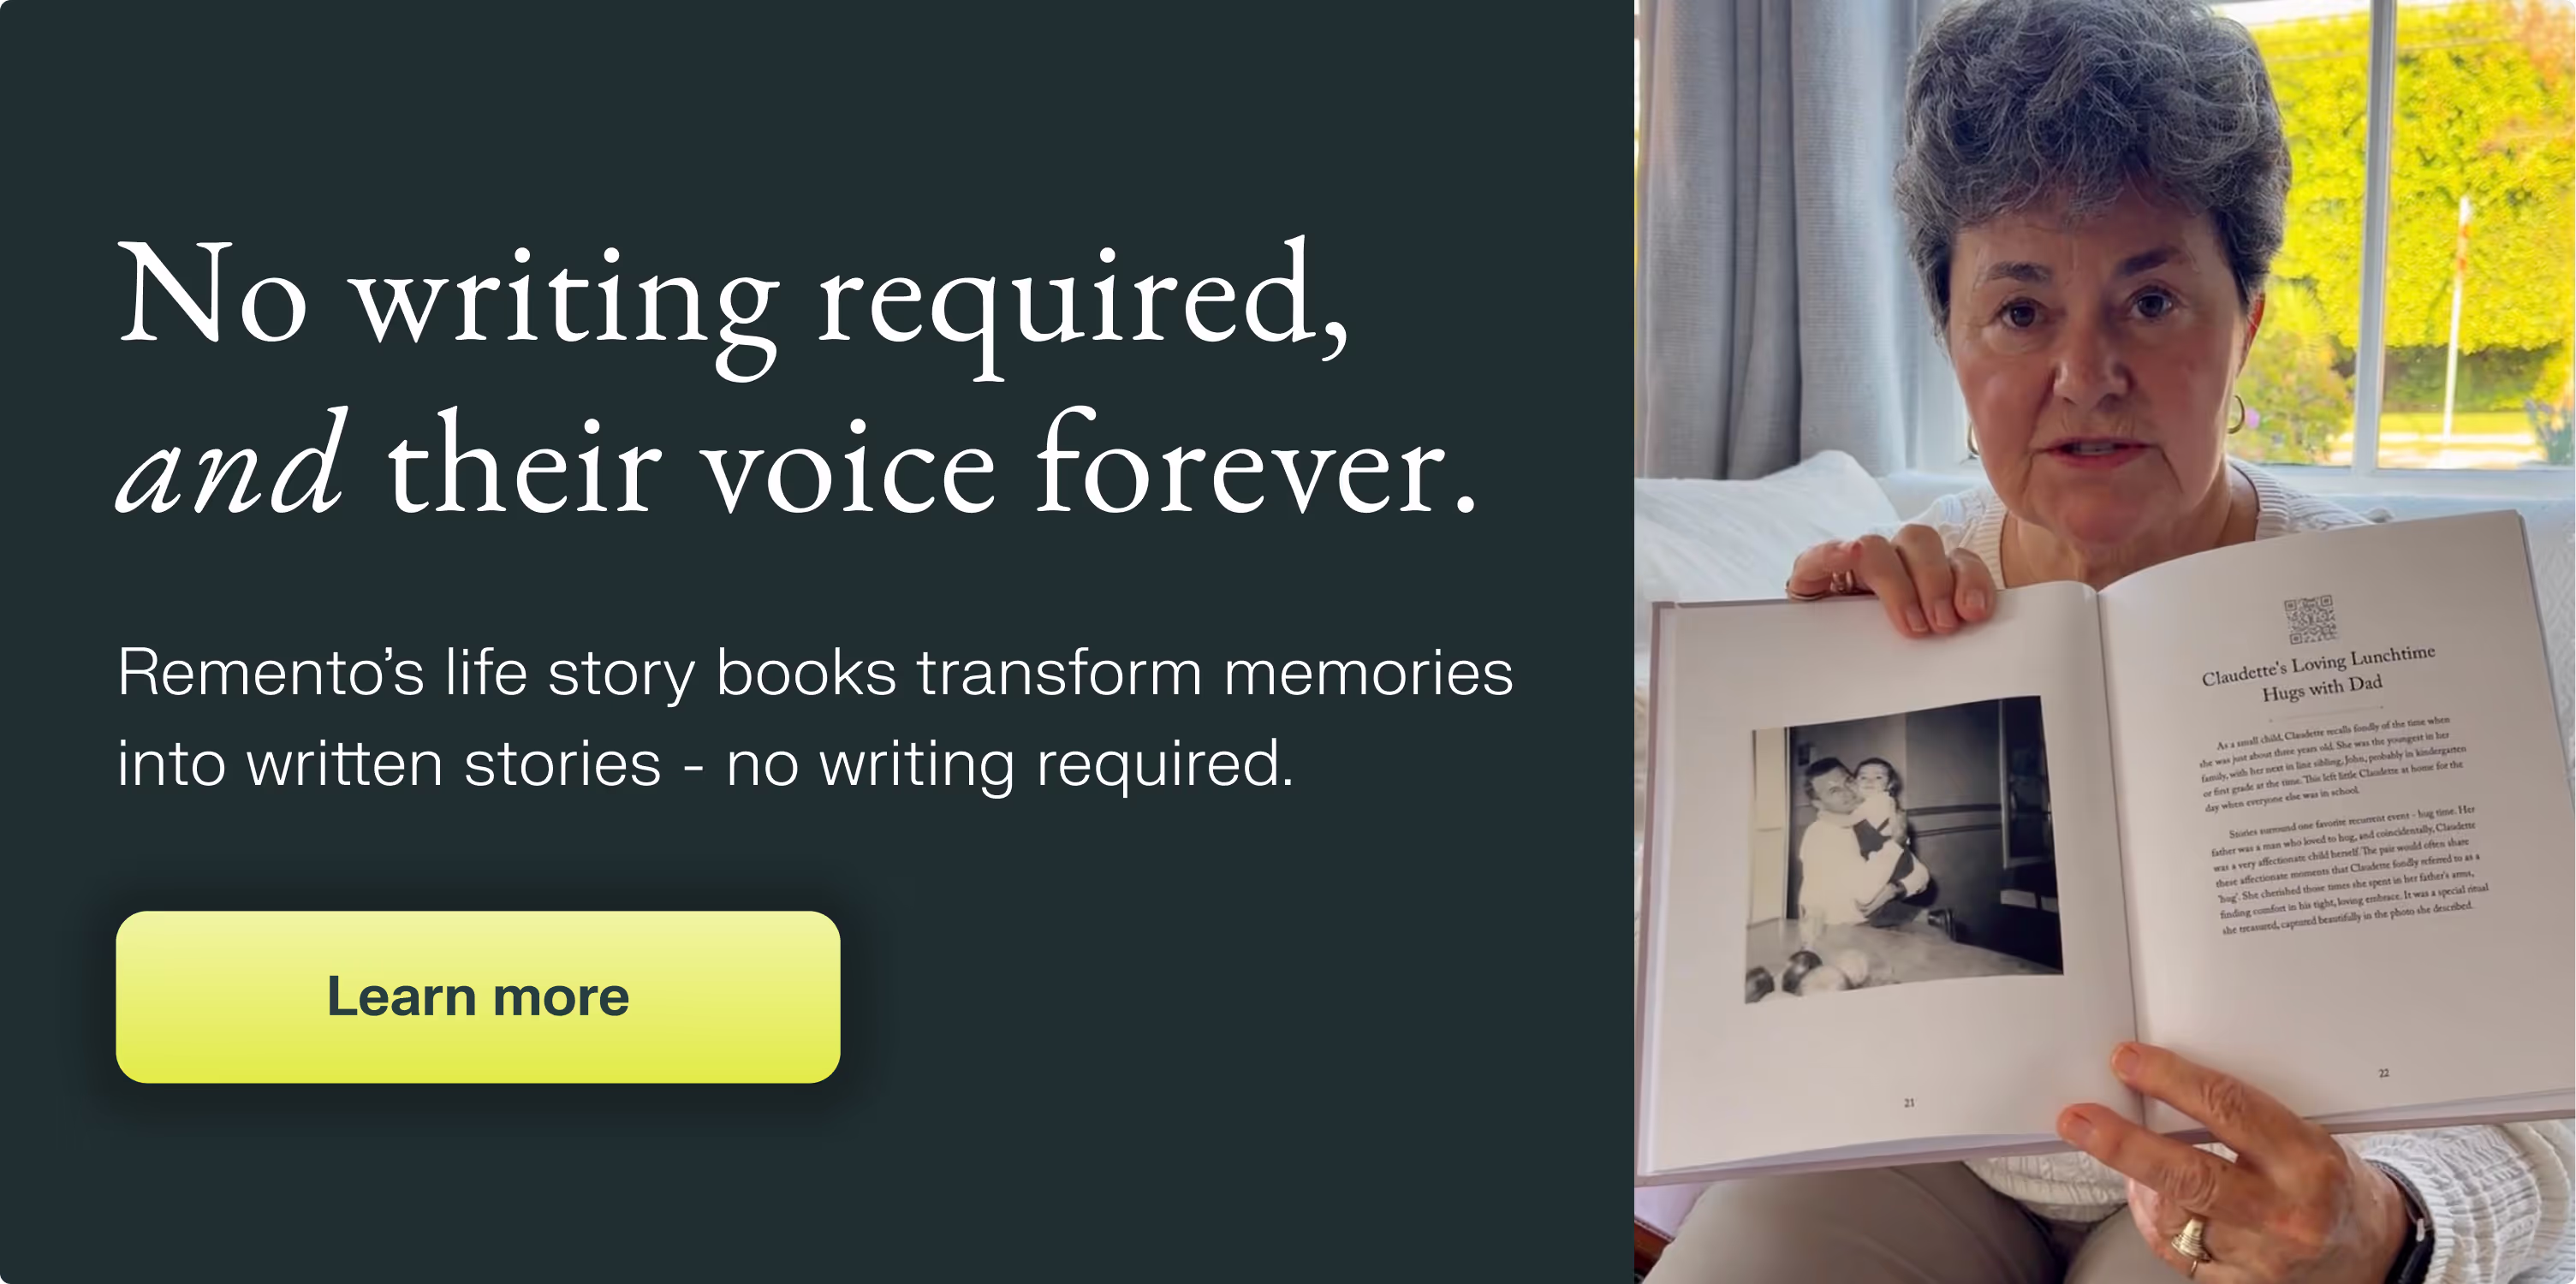
Remento’s life story books turn a parent or grandparent’s memories of the past into a keepsake book for the future - no writing required.
Capture priceless family memories today
Join the thousands of families using Remento to preserve family history, all without writing a word.