5 Tips for Recording a Family History Interview Over Zoom

April 2024

Tags:

How To
Personal Interview
Family Stories
Oral History

Distance, time, and cost shouldn’t prevent you from researching family history or deepening your relationship with a loved one. Interviewing someone in person is usually the best approach if you can manage it. The intimacy created, the ability to pick up on body language and non-verbal cues, and the control you have over the environment can lead to a more fulfilling experience for both of you. If you can’t be in-person, a video call is the closest way to recreate that experience. Tools like Zoom, Google Meet, Skype, or even FaceTime are making this technology more accessible than ever.

This is the final installment in our three-part guide to help you plan and lead a meaningful interview with a family member. Part one of this series focused on preparation and part two covered tips on the interview itself. Let us know what else you'd like to see us cover!

The only thing better than having an amazing interview with a family member is having a great recording of it too. Use these five tips to set yourself up for success:

  1. Pick the right location
  2. Use that mute button
  3. Go for eye level
  4. Find your light
  5. Think simple
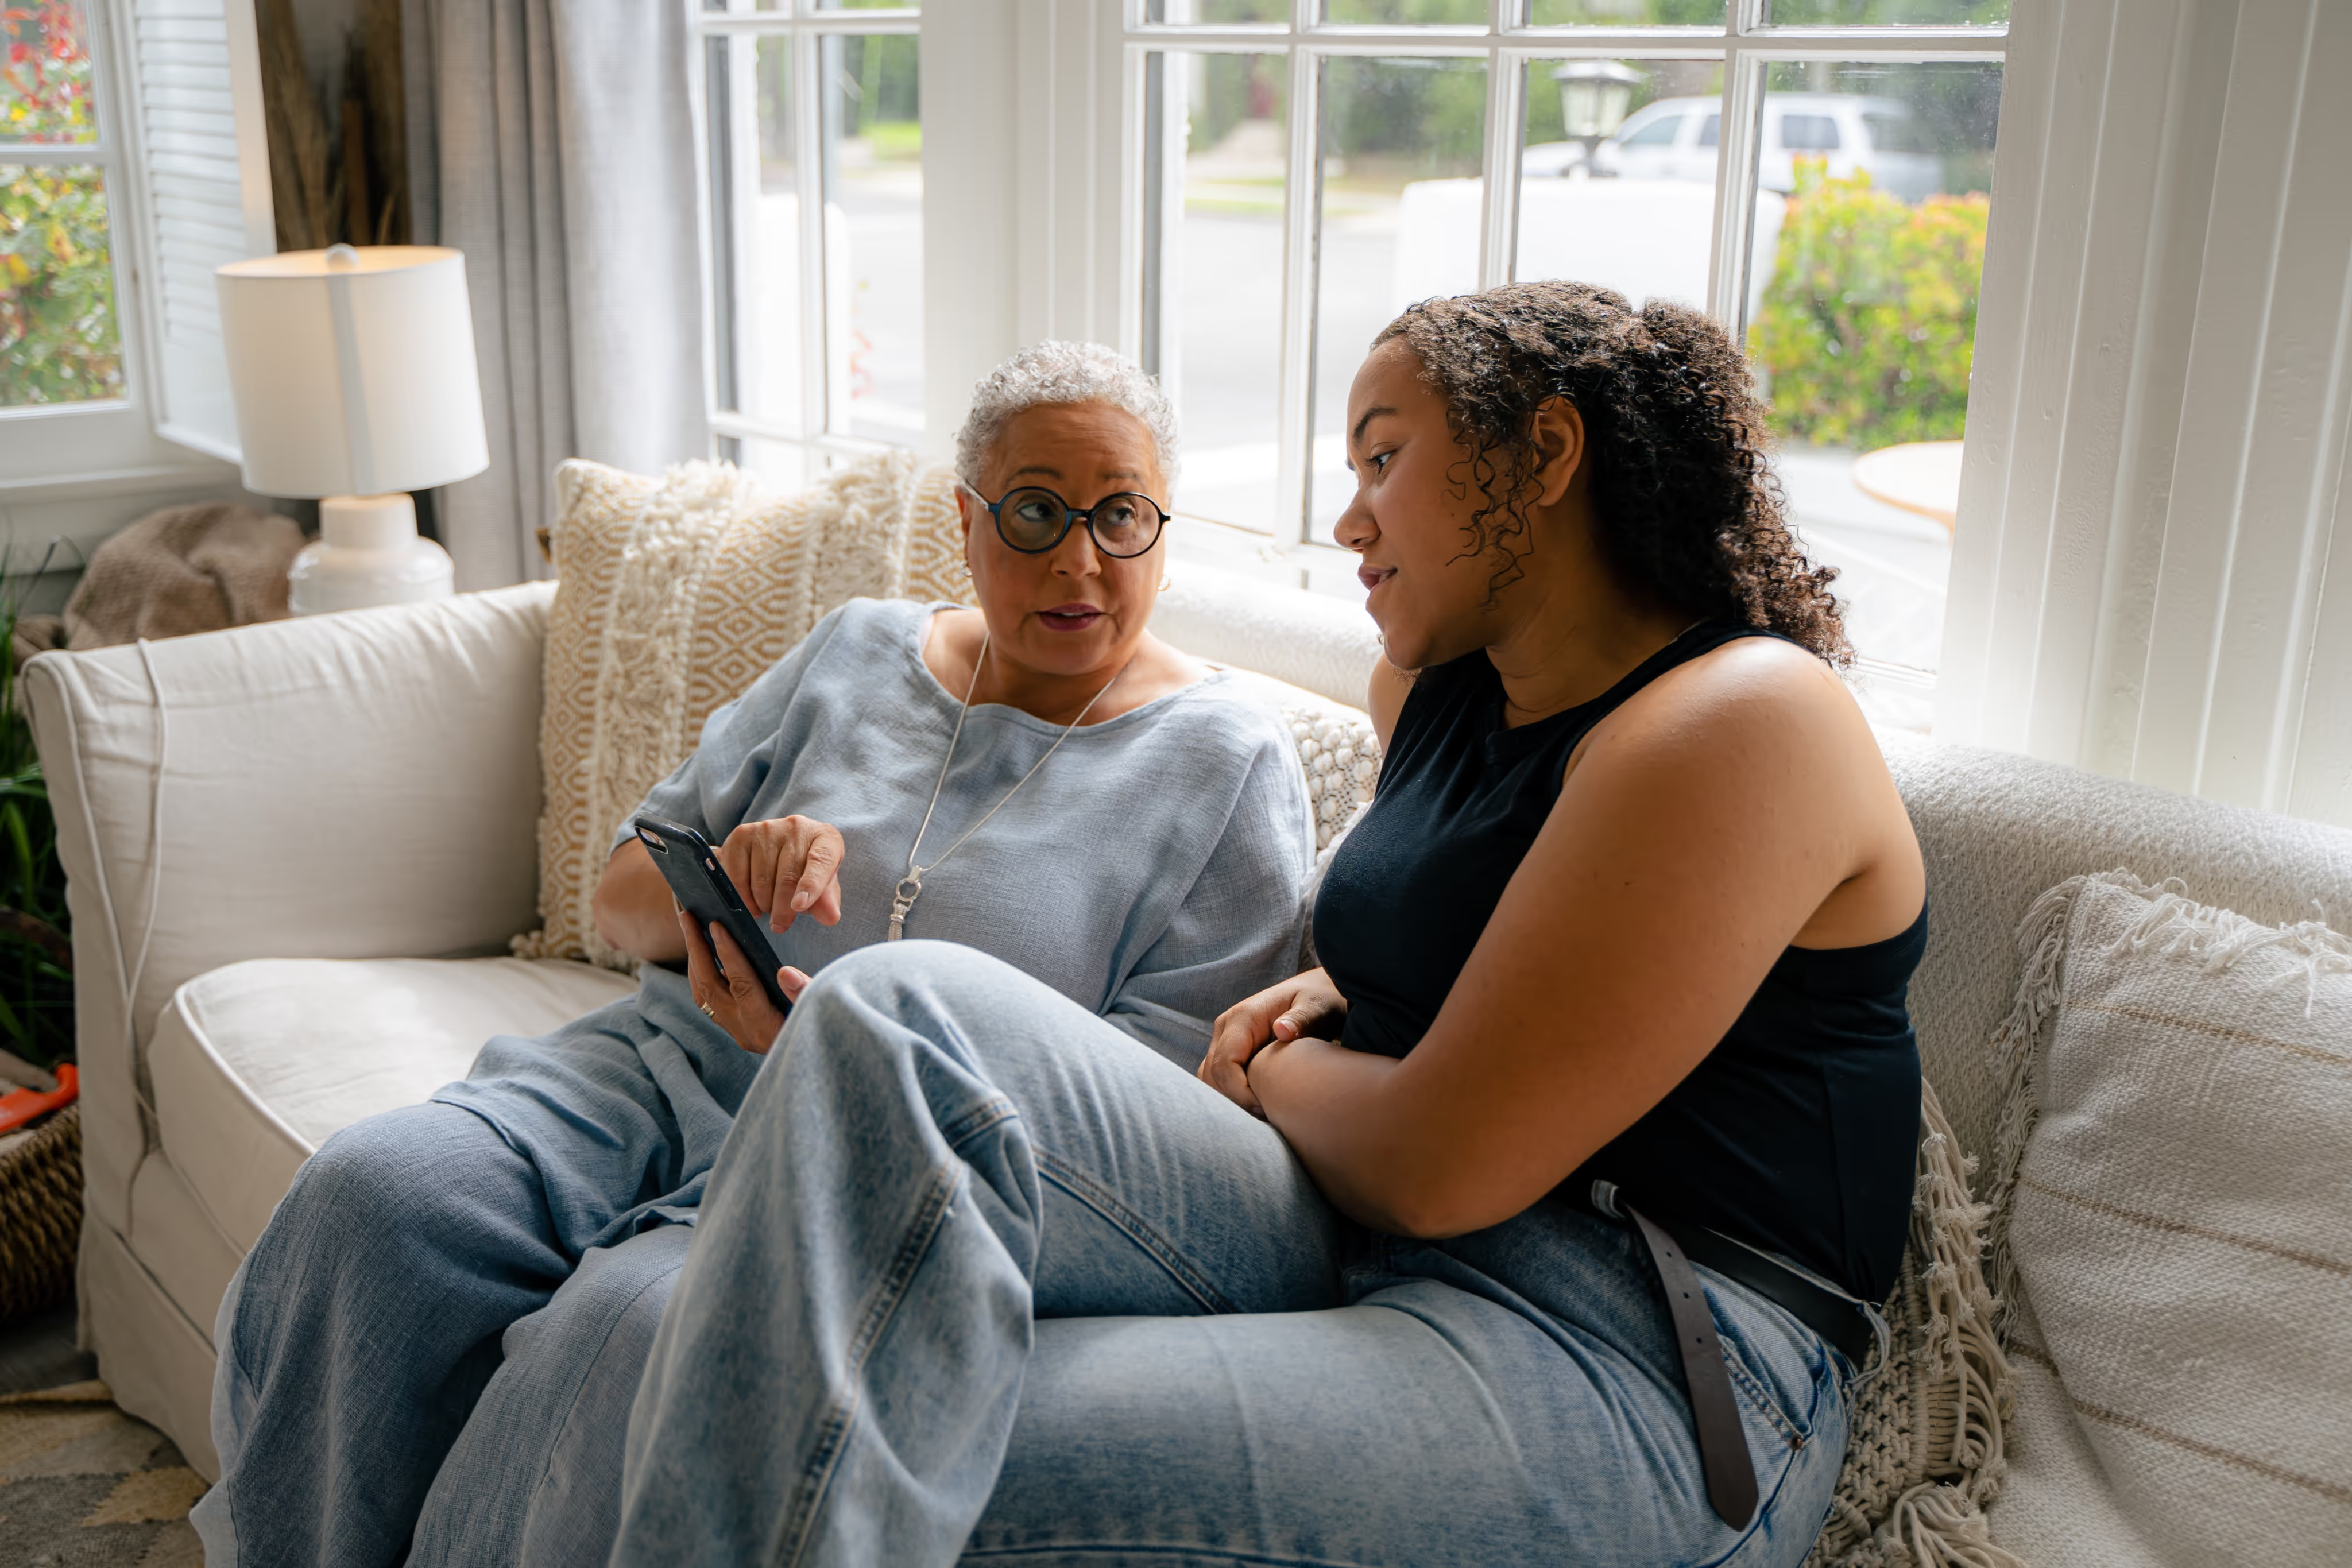
Photo by Kenny Eliason

5 Tips for Recording a Family History Interview Over Zoom

1. Pick the right location

Plan a time for your conversation where both you and your storyteller can commit to 60-90 minutes of uninterrupted time. You’ll want a quiet, comfortable place for both of you – avoid public places or rooms with background noise like TVs and appliances. If you’re using a laptop or smartphone, be sure you have it plugged in to avoid dropping out during the interview or losing your recording.
2. Mute yourself

When you’re not speaking, mute your audio. Doing so will ensure that your background noise isn’t captured and that the video remains focused on the speaker. Consider using headphones with a microphone to help reduce noise and keep your audio clearer.

3. Aim for eye level

If you or your storyteller are using a smartphone, find a place to set it so you don’t have to hold it up the entire time. Use a tripod, stand, or just lean it against a cup or stack of books. You and your storyteller should sit about an arm's length from the camera, preferably positioned at or slightly above eye level. If you’re using a laptop, consider placing it on a stack of books to get the camera higher so you aren’t looking down. This will create a steady shot and more flattering angle.

4. Find your light

In addition to good audio, you’ll want to make sure your storyteller is clearly visible on screen. Avoid backlighting (a dark silhouette caused by a bright light source behind them) by having them face toward the brightest part of their room. You may want to shut or open window coverings or move small lamps around accordingly.

5. Think simple

The star of your interview is on the storyteller themself so try to avoid distracting backgrounds. Have your storyteller sit in front of something simple like a plain wall or bookcase. If their computer is set up facing a room, see if you can shut a door to avoid people or pets walking behind them and stealing focus.

6. Bonus Tip

If you're looking for a tool that will guide you through this experience and record it, check out the free Remento app. It provides both expert-crafted questions and the ability to customize or write your own, and you can even add photos.
Next up: 20 Questions to Ask Your Parent or Grandparent

Tags:

How To
Personal Interview
Family Stories
Oral History

5 Tips for Recording a Family History Interview Over Zoom

Remento Staff

April 2024

Distance, time, and cost shouldn’t prevent you from researching family history or deepening your relationship with a loved one. Interviewing someone in person is usually the best approach if you can manage it. The intimacy created, the ability to pick up on body language and non-verbal cues, and the control you have over the environment can lead to a more fulfilling experience for both of you. If you can’t be in-person, a video call is the closest way to recreate that experience. Tools like Zoom, Google Meet, Skype, or even FaceTime are making this technology more accessible than ever.

This is the final installment in our three-part guide to help you plan and lead a meaningful interview with a family member. Part one of this series focused on preparation and part two covered tips on the interview itself. Let us know what else you'd like to see us cover!

The only thing better than having an amazing interview with a family member is having a great recording of it too. Use these five tips to set yourself up for success:

  1. Pick the right location
  2. Use that mute button
  3. Go for eye level
  4. Find your light
  5. Think simple
Photo by Kenny Eliason

5 Tips for Recording a Family History Interview Over Zoom

1. Pick the right location

Plan a time for your conversation where both you and your storyteller can commit to 60-90 minutes of uninterrupted time. You’ll want a quiet, comfortable place for both of you – avoid public places or rooms with background noise like TVs and appliances. If you’re using a laptop or smartphone, be sure you have it plugged in to avoid dropping out during the interview or losing your recording.

2. Mute yourself

When you’re not speaking, mute your audio. Doing so will ensure that your background noise isn’t captured and that the video remains focused on the speaker. Consider using headphones with a microphone to help reduce noise and keep your audio clearer.

3. Aim for eye level

If you or your storyteller are using a smartphone, find a place to set it so you don’t have to hold it up the entire time. Use a tripod, stand, or just lean it against a cup or stack of books. You and your storyteller should sit about an arm's length from the camera, preferably positioned at or slightly above eye level. If you’re using a laptop, consider placing it on a stack of books to get the camera higher so you aren’t looking down. This will create a steady shot and more flattering angle.

4. Find your light

In addition to good audio, you’ll want to make sure your storyteller is clearly visible on screen. Avoid backlighting (a dark silhouette caused by a bright light source behind them) by having them face toward the brightest part of their room. You may want to shut or open window coverings or move small lamps around accordingly.

5. Think simple

The star of your interview is on the storyteller themself so try to avoid distracting backgrounds. Have your storyteller sit in front of something simple like a plain wall or bookcase. If their computer is set up facing a room, see if you can shut a door to avoid people or pets walking behind them and stealing focus.

6. Bonus Tip

If you're looking for a tool that will guide you through this experience and record it, check out the free Remento app. It provides both expert-crafted questions and the ability to customize or write your own, and you can even add photos.

Next up: 20 Questions to Ask Your Parent or Grandparent

What’s a Rich Text element?

A rich text element can be used with static or dynamic content. For static content, just drop it into any page and begin editing. For dynamic content, add a rich text field to any collection and then connect a rich text element to that field in the settings panel. Voila!

The rich text element

A rich text element can be used with static or dynamic content. For static content, just drop it into any page and begin editing. For dynamic content, add a rich text field to any collection and then connect a rich text element to that field in the settings panel. Voila!

A rich text element can be used with static or dynamic content.
  • Test

Test

A rich text element

A rich text element can be used with static or dynamic content. For static content, just drop it into any page and begin editing. For dynamic content, add a rich text field to any collection and then connect a rich text element to that field in the settings panel. Voila!

A rich text element

A rich text element can be used with static or dynamic content. For static content, just drop it into any page and begin editing. For dynamic content, add a rich text field to any collection and then connect a rich text element to that field in the settings panel. Voila!

A rich text element

A rich text element can be used with static or dynamic content. For static content, just drop it into any page and begin editing. For dynamic content, add a rich text field to any collection and then connect a rich text element to that field in the settings panel. Voila!

A rich text element

A rich text element can be used with static or dynamic content. For static content, just drop it into any page and begin editing. For dynamic content, add a rich text field to any collection and then connect a rich text element to that field in the settings panel. Voila!

A rich text element can be used with static or dynamic content. For static content, just drop it into any page and begin editing. For dynamic content, add a rich text field to any collection and then connect a rich text element to that field in the settings panel. Voila!

A rich text element

A rich text element can be used with static or dynamic content. For static content, just drop it into any page and begin editing. For dynamic content, add a rich text field to any collection and then connect a rich text element to that field in the settings panel. Voila!

Static and dynamic content editing

A rich text element can be used with static or dynamic content. For static content, just drop it into any page and begin editing. For dynamic content, add a rich text field to any collection and then connect a rich text element to that field in the settings panel. Voila!

A rich text element can be used with static or dynamic content. For static content, just drop it into any page and begin editing. For dynamic content, add a rich text field to any collection and then connect a rich text element to that field in the settings panel. Voila!

How to customize formatting for each rich text

Headings, paragraphs, blockquotes, figures, images, and figure captions can all be styled after a class is added to the rich text element using the "When inside of" nested selector system.

The story book that writes itself

Preserve family stories.
No writing required.

Learn more