.avif)

Guaranteed to teach you things you never knew.
March 2023
The Hidden Scanner on Your iPhone and iPad. Here's How to Use It
Unlock the hidden scanning feature on your iPhone or iPad to effortlessly digitize cherished photos and documents, preserving your family’s memories with ease and creating a lasting legacy for future generations.


If you don't have a high-tech scanner, it may seem impossible to digitize photos yourself. But you may already have a scanner in your hand: your iPhone or iPad! Don't just take a picture and crop it; that takes too much work.
Instead, use the document scanner located in the Notes app, which was added in iOS 11 in 2017. If you don't use the Notes app, you may not even know it exists.
Here's an overview on how to locate the scanner, how to use it, and some tips to get the most out of the hidden feature.
How to scan a photo with your iPhone, iPad
Start by placing the photo(s) on a flat surface, in a well-lit area.
Open the Notes app, and create a new note or open an existing one. Tap the camera icon, then select Scan Documents.
Your device will open the camera. To get the best results, hold it directly above the document.
.avif)
Press the shutter button near the bottom of the screen to scan the document. Create a folder called "My Scanned Photos" in the Notes app to store and easily find anything you've scanned.
When the camera begins scanning the photo, a yellow box will appear. Tips such as "get closer" will be visible as your device tries to identify the edges and corners of the paper. Once the entire document is found, a scan will be automatically captured. If your iPhone or iPad is having difficulty locating the document, you can press the shutter button.
At the bottom-left corner, a small thumbnail of each page will be visible. The scanner will remain open to scan multiple pages. After completing the scan, tap the Save button.
Make adjustments to get the perfect scan
Once you've scanned the photos, you can make modifications, like straightening out the corners if the scan is a bit off, changing the color scheme, rotating the photos, and adding more pages.
To use the crop tool effectively, tap on the document to open it, then locate the small circles at each corner of the document. These circles serve as a magnifying glass to provide a better view of the adjustments you are making. Once you've found the desired area, you can use the editing tools located along the bottom of the screen to make the necessary adjustments or cut out a section of the document.
Save and share
Once you've scanned and adjusted your document, you have a few options.
You can keep it in the Notes app for future reference, or you can sign and share it. To bring up the share sheet and add your signature, tap the share button in the top-right corner of the screen and then scroll below the app shortcuts to select Markup. Tap on the "+" symbol to access the tools to draw, write or add text, or add your signature.
Once you're finished, you can email, save it to the Files app, or treat it as you would any other document on your iPhone or iPad. Additionally, you can use Apple's hidden scanner feature to send the document directly to your Mac. For more tips on how to use iOS 14, check out our article on the hidden features found in the new update.
Ready to explore the stories behind each photo?
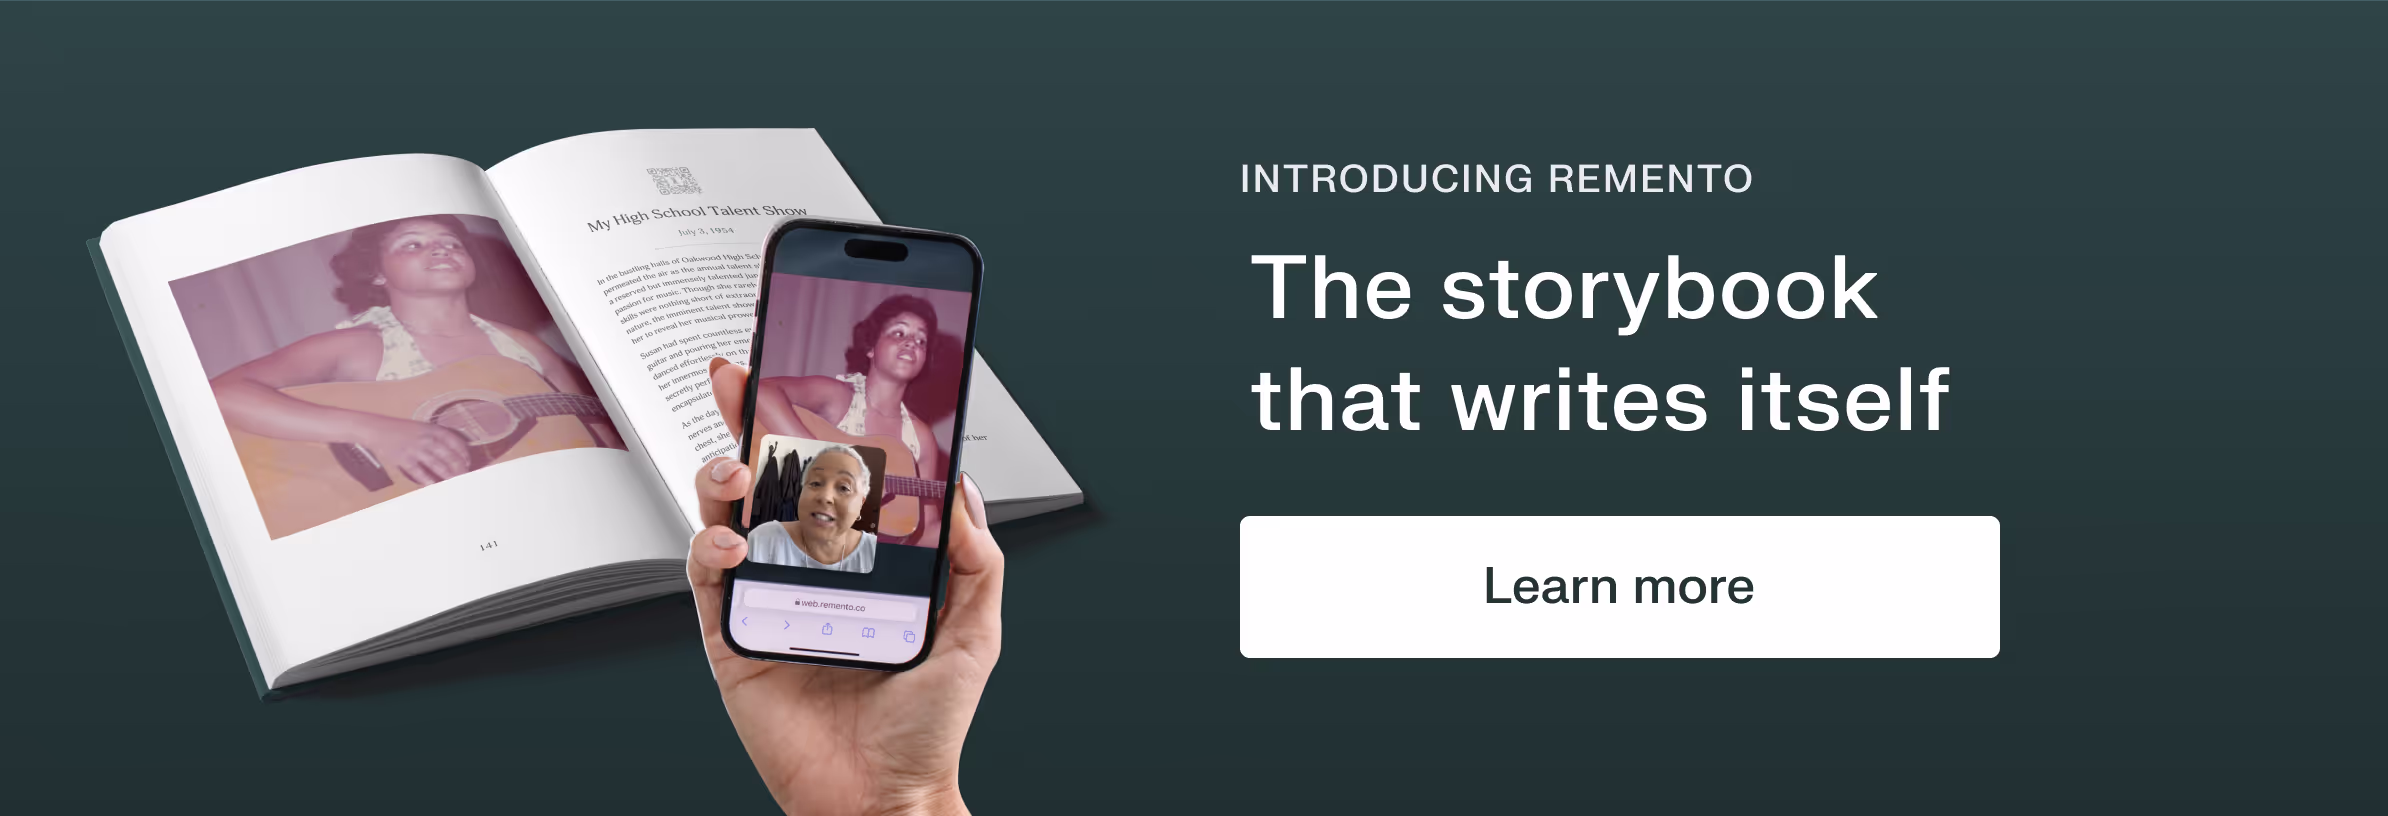
With Remento, it's never been easier to collect the stories behind your family's most precious photos. Simply add these newly digitized photos to Remento. You or a loved one will be invited each week to record an answer from a favorite device - no downloads required. Then, Remento turns the recordings into written stories, each of which is printed into a hardcover, keepsake book. Read the book, or scan the QR codes within it to play the recording. Learn more about Remento today.
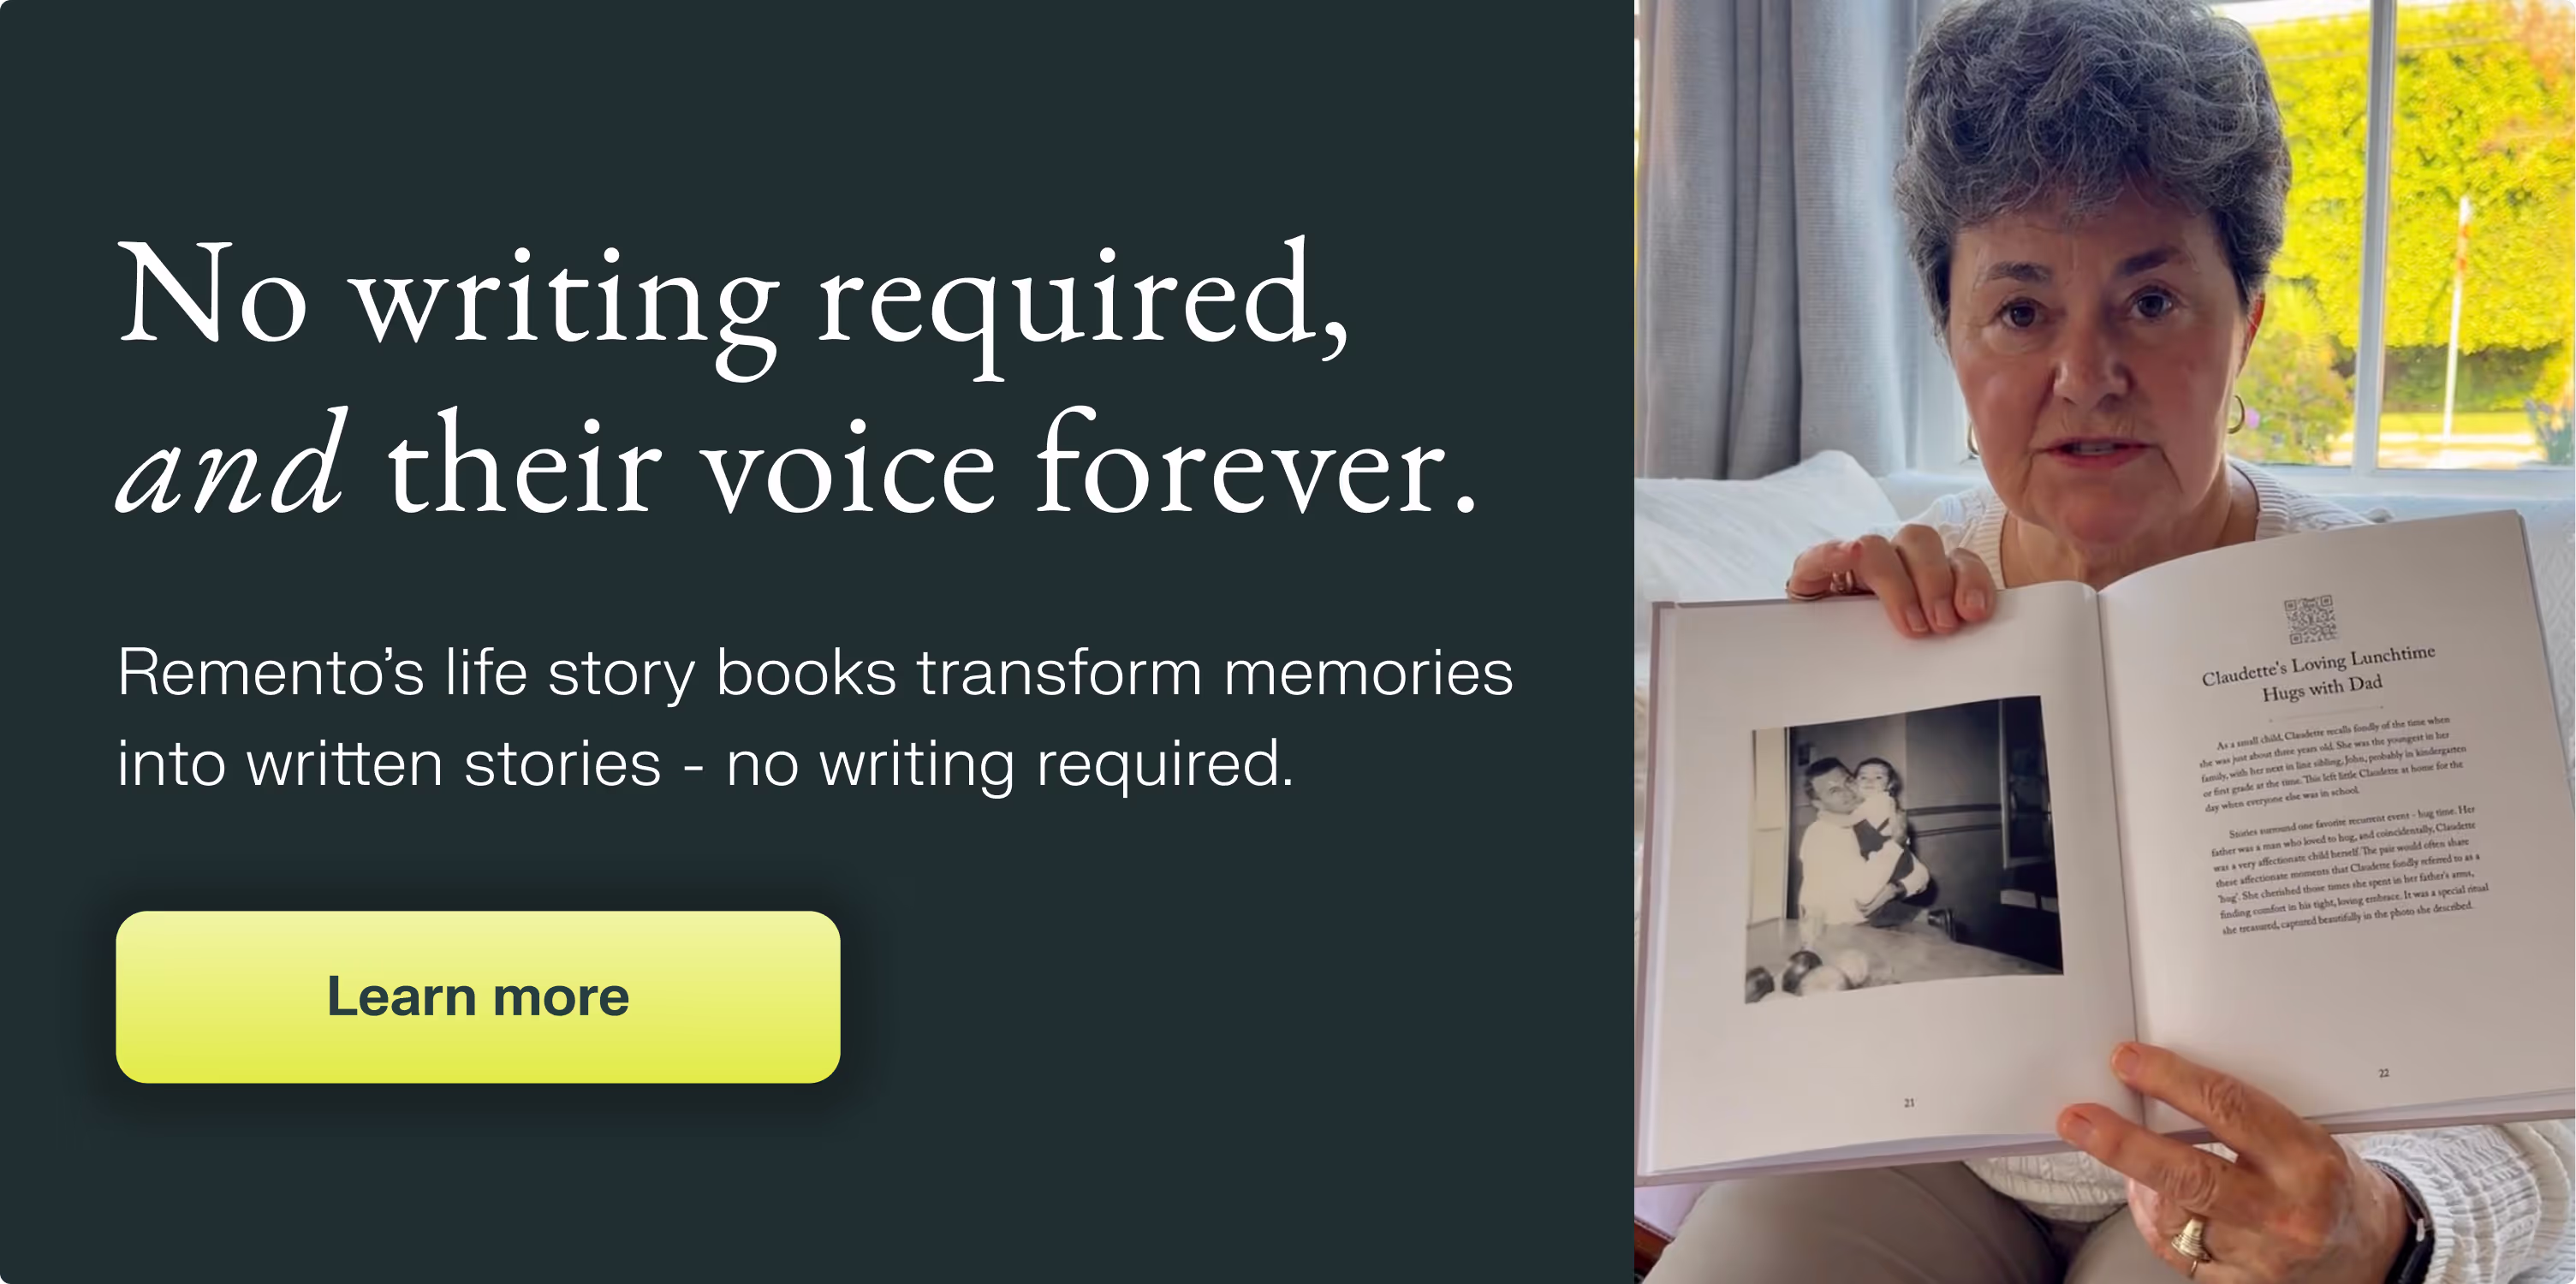
Their stories, forever at your fingertips
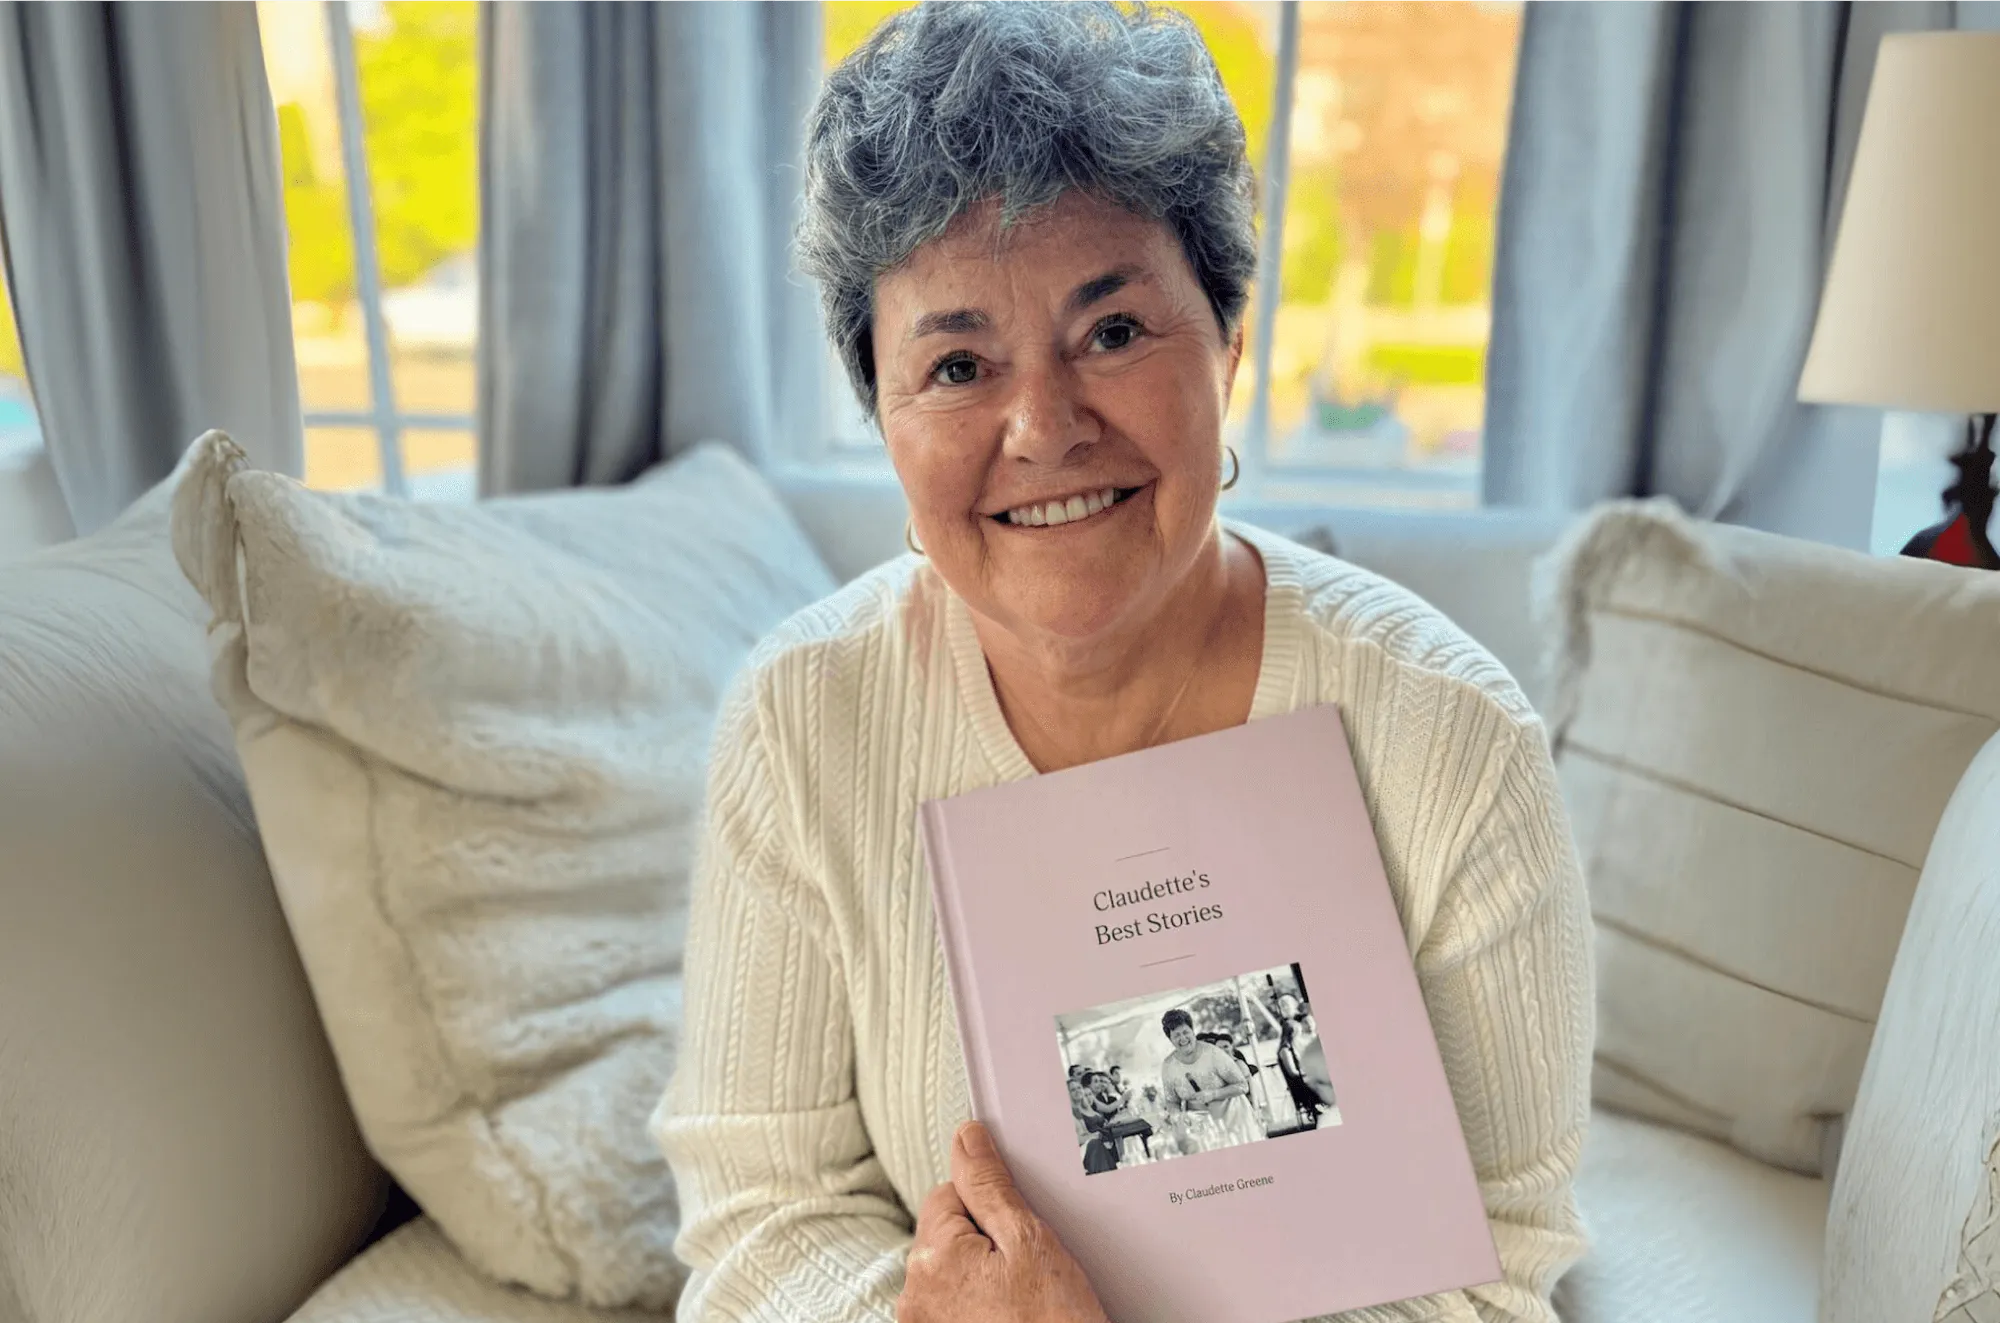
Remento’s life story books turn a parent or grandparent’s memories of the past into a keepsake book for the future - no writing required.
Capture priceless family memories today
Join the thousands of families using Remento to preserve family history, all without writing a word.